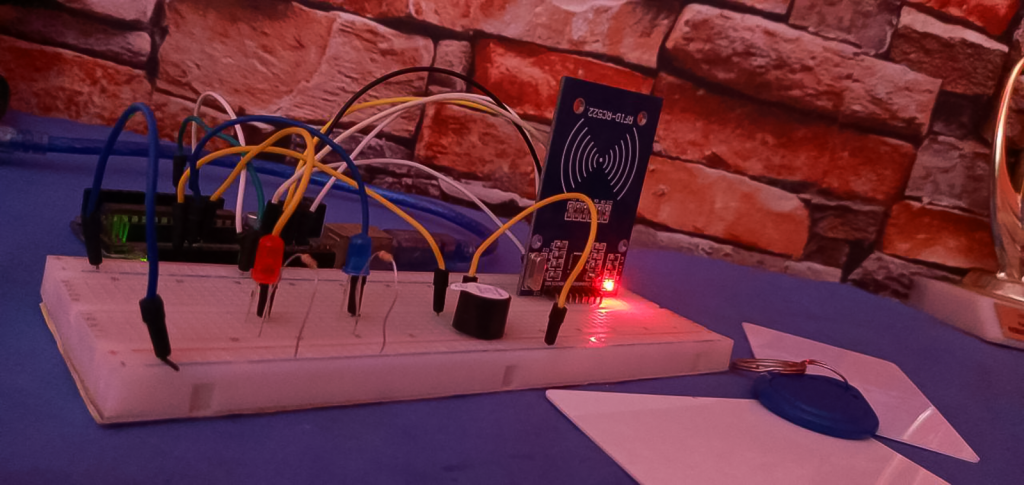
Digitize Your Soil With A Sensor

Overview

In this section you will learn how to use the soil moisture sensor. With a practical example to help you grab the concept.

What You Will Learn

  • How the soil moisture sensor operates
  • Hardware Overview 
  • Interfacing the sensor with Arduino

How The Soil Moisture Sensor Operates

The sensor has two probes which serves as conductors. The conductivity of the sensor is dependent on the moisture level of the soil. More water in the soil means more conduction and less resistance where as less moisture content means less conduction and more resistance. The sensor produces an output voltage according to the resistance, which means by measuring we can determine the soil moisture level.

Hardware Overview

A typical sensor has two components 

  • Probe 
  • Electronic Module

Probe

This is a fork shaped component that goes into the soil.It conducts electricity according to the moisture level of the soil

Electronic Module

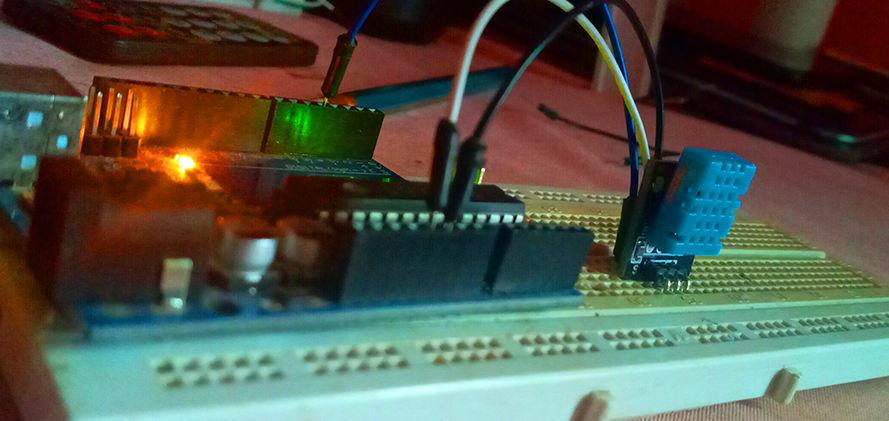
This is what links the Arduino to the probe.The sensor has four pin-out

  •  VCC(Power Pin)
  • GND(Ground Pin)
  • AO(Analog Pin)-gives an analog signal and will be connected to analog input on the Arduino
  • DO(Digital Pin)-gives digital output of the internal comparator output and will be connected to a digital input of the Arduino or 5v relay.
 The module produces an output voltage according to the resistance of the probe and is made available at an analog output pin (AO).
The same signal is fed to an LM293 high precision comparator and is made available at the digital output pin(DO)
The module has a potentiometer for sensitivity adjustment of the (DO).Nevertheless you can use an external potentiometer to set a threshold.
This set up is useful and can help make your soil smatter ,for example when a threshold is reached a signal can be sent to trigger a relay to start pumping water on the farm into the soil
 
Also the module has two LED’s
 i) Power LED -goes and stays on when powered
ii) Status LED-Lights up when the digital output goes low

Interfacing sensor with Arduino

There are two ways of connecting the soil moisture level sensor to the Arduino

  • Analog mode
  • Digital mode

Components for both set ups are:

  • Arduino UNO
  • connecting wires 
  • Soil moisture level sensor
  • Breadboard
  • LED

Analog mode

circuit diagram of sensor in analog mode

//code after connecting components
int sensor =A1;//sensor is connected to the anolog pin A1 of the Arduino
int value =0;//takes reading of the sensor
int led =13;//Arduino's on board LED
boolean notice =false;//stop unnecessary repetition of code


void setup() {
Serial.begin(9600);//activates serial monitor
pinMode(sensor ,INPUT);
pinMode(led,OUTPUT);
}


void loop() {
value =analogRead(sensor);//reads the moisture level and stores the value in 'value'
Serial.println(value);//prints the value read by the sensor
if((value>=500)&&(notice==false)){//if value is greater than 500 and notice is true 
  digitalWrite(led, HIGH);//turn on the LED 
  //This means soil is dry hence needs water 
  
  notice=true;//change the notice status back to true
  delay(1000);//delays for 1 sec and continues with next line of code
  }

if((value <=300)&&(notice==true)){//if value is less than 300 and notice is true
  digitalWrite(led, LOW);//turn off LED 
  //water level is okay hence quit adding water
  notice=false;//changes the nnotice status back to false
  delay(1000);
  } 
   delay(1000);
} 

Digital mode

The circuit diagram for the digital mode is similar to that of the analog mode just that the digital pin of the module is connected to the digital pin of the arduino

circuit diagram on sensor in digital mode

int sensor =4;//sensor is connected to pin 4 of Arduino
int led =13;//Arduino's on-board LED
boolean notice =false;//stop unnecessary repetition of code
void setup() {
Serial.begin(9600);//activates serial monitor
pinMode(sensor ,INPUT);
pinMode(led,OUTPUT);
}

void loop() {


if((digitalRead(sensor)==HIGH&&(notice == false))){//if sensor is HIGH and notice is false
  digitalWrite(led, HIGH);//turn on LED
  //soil is dry hence needs water
  notice=true;//change notice status to true
  delay(1000);//delays for one second
  }
if((digitalRead(sensor)==LOW&&(notice == true))){//if sensor is LOW amd notice is true 
  digitalWrite(led, LOW);//turn LED off 
  notice=false;//change notice status back to false
  delay(1000);
  } 
   delay(1000); 
} 

Related Articles

The 555 timer IC.

As a hobbyist, engineer, or maybe an electronics geek or wherever you find yourself, you can’t really have the time and pleasure to know what goes on in all the million ICs in the world. However you can delve with me into this simple 555 timer to see whats going on in it. This can give you a certain level of understanding about almost all ICs.

Using the dual axis analog joystick module

Where are the game center squad?
Do you remember those guys behind the UCOM game pad who would be like “oh as for me I play FIFA well with analog” and at the end of the day they would still loose the match, eiiiii?
You know what, today we will be doing something more technical and fantastic with one of the joystick modules.
We will learn how to harvest the x and y coordinates out of the joystick and use it to control things in real life…..

Responses

Your email address will not be published. Required fields are marked *

  1. wooow! my very own Hon. Garbah, nice job bro. Keep it up. I suggest you implement it on an actual day to day life practicality, for instance, a garden.

    1. its will happen practically,the project is in the dormancy stage it will germinate and skate the soil soon.
      thanks very much bro

  2. i would like to recommend this if its possible on your side 
    i think it make reading very easy 🙂

    the output should be rated over 10% and print something like this
    1 — dry soil
    2 — dry soil
    3 — Wet
    4 –Average
    5 — Average
    6 — Average
    7 — Moist
    8 — Moist
    9 — Very moist
    10 — Wattery